
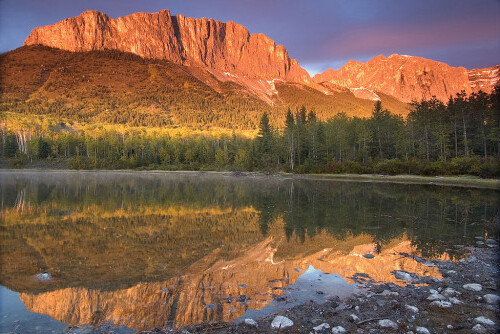
LunpaCMS comes with several powerful built in image capabilities, which are used through the :::IMAGE::: tag. Using this tag and its features is very simple. The very basic use of the tag is :::IMAGE:<filename>::: which gets the image of <filename> from the "/images" directory of your website, which is the default directory
In order to use the options below you must use this form of the tag: :::IMAGE:ARGS: <attribute>&<attribute> ::: where attribute is one of the various attributes listed below with & as the deliminator, with a space between the attribute(s) and the ":" deliminator and the ":::" closing tag.

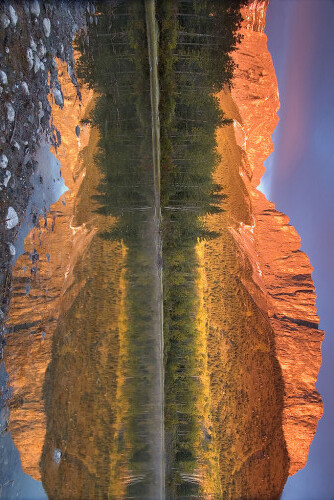
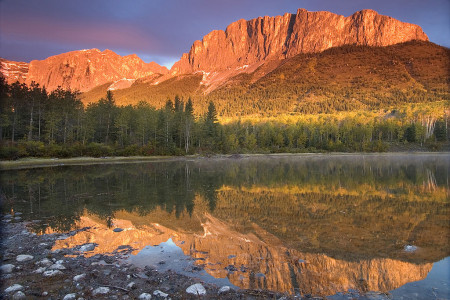
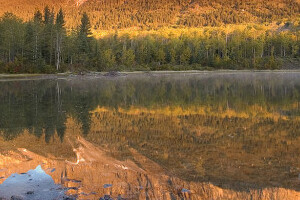
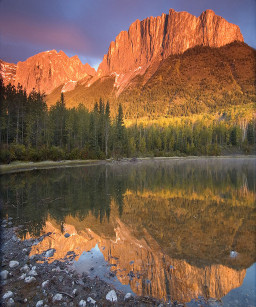
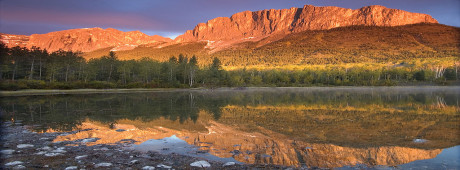
In the example below the image is turned 90 degrees clockwise
Required parameters: rotate (degrees to rotate the image, with positive being clockwise)
Example: :::IMAGE:example_image.jpg:ARGS: filepath=/images/montage&align=center&rotate=90 :::
Surround the image with a border of color
Required parameters: border_1_size (width of border in pixels), border_1_color (color of border)
Optional parameters: border_x_size (width of border in pixels), border_x_color (color of border)
'x' must be a number from 2 to 9 and must start at 2.
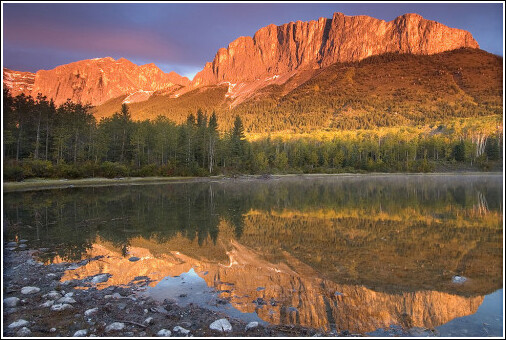
Example: :::IMAGE:example_image.jpg:ARGS: border_1_size=1&border_1_color=#FFFFFF&border_2_size=2&border_2_color=black&align=center&filepath=/images/montage :::
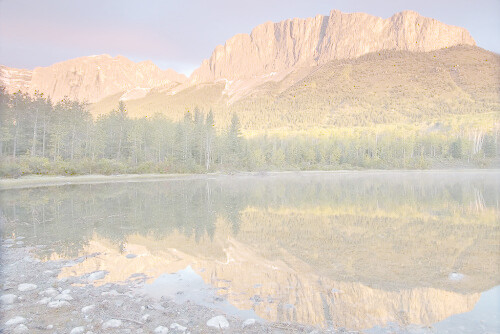
Contrast or brightness of an image can be adjusted, as in the example below.
Required parameters: brightness (gamma correction applied to image)
Example: :::IMAGE:example_image.jpg:ARGS: filepath=/images/montage&brightness=5 :::
Reflect the image vertically.
Required parameters: flip=vertical
Example: :::IMAGE:example_image.jpg:ARGS: filepath=/images/montage&flip=vertical :::

Reflect the image horizontally
Required parameters: flop=horizontal
Example: :::IMAGE:example_image.jpg:ARGS: filepath=/images/montage&flop=horizontal :::
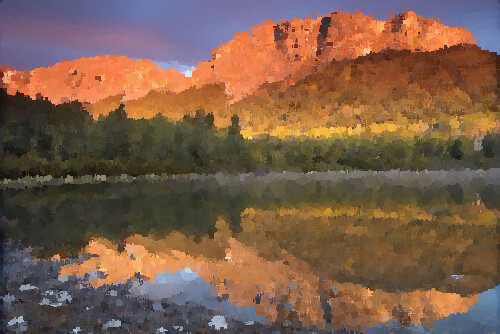
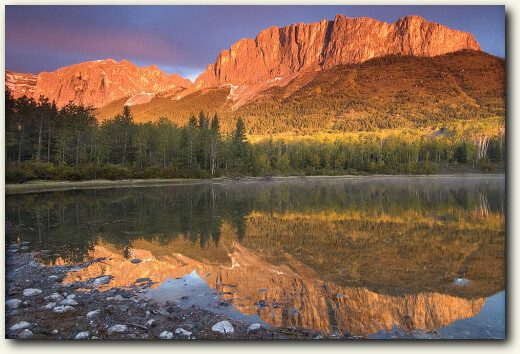
Simulate an oil painting (image-altering effects use first frame only)
Required parameters: oilpaint and the value should be in pixels
Example: :::IMAGE:example_image.jpg:ARGS: filepath=/images/montage&oilpaint=3 :::
Adds a drop shadow to the image. drop_shadow_distance_x and drop_shadow_distance_y control the distance and angle of the drop shadow. Positive values move the drop shadow down and to the right while negative values push it left and up.
Required parameters: drop_shadow and matte_color
Optional parameters: drop_shadow_distance_x, drop_shadow_distance_y, drop_shadow_blur (amount of blur added to shadow), drop_shadow_color, drop_shadow_opacity
Example: :::IMAGE:example_image.jpg:ARGS: filepath=/images/montage&drop_shadow=1&matte_color=#f8f7e9&drop_shadow_blur=5 :::
Can handle animated GIFs by grabbing the first frame. The example below is oil paint on an animated gif
Example: :::IMAGE:animation.gif:ARGS: filepath=/images/test&oilpaint=5 :::
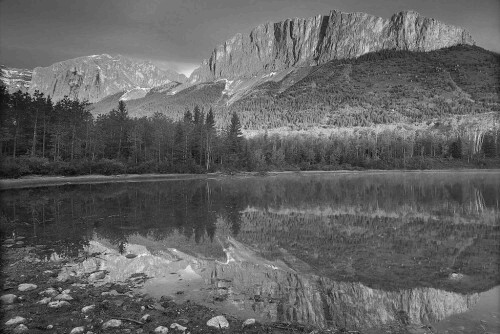
Image of this sort, also known as black-and-white, is composed exclusively of shade of gray.
Required parameters: grayscale and it should be in gray
Example: :::IMAGE:example_image.jpg:ARGS: filepath=/images/montage&grayscale=gray :::
Specifies the width of an image
Required parameters: maxwidth and it should be in pixels
Example: :::IMAGE:1.jpg:ARGS: filepath=/images/montage&maxwidth=300 :::

Specifies the height of an image
Required parameters: maxheight and it should be in pixels
Example: :::IMAGE:example_image.jpg:ARGS: filepath=/images/montage&maxheight=300 :::
Specifies a specific area of the image that will be displayed
Required parameters: crop = geometry (ie, 300x200+150+100)
Example: :::IMAGE:1.jpg:ARGS: filepath=/images/montage&crop=300x200+150+100 :::
Quality of the image can be adjusted
Required parameters: quality and should be in percentage
Example: :::IMAGE:example_image.jpg:ARGS: filepath=/images/montage&quality=10 :::
Maxheight and maxwidth should be in percentages and then if allow_distortion is set to 1 it allows you to make an image skinny, fat, etc
Required parameters: allow_distortion,maxwidth and maxheight value should be a multiple of the original size
Example: :::IMAGE:1.jpg:ARGS: filepath=/images/montage&allow_distortion=1&maxwidth=.25&maxheight=.45 :::
Allow Upscale allows the image that is being inserted to be made larger than its original size. Since upscaling images is not always a desirable effect, the default is set to disallow upscaleing. allow_upscale requires you to set both maxwidth and maxheight to values greater than the original iimage. In order to use it, set the allow_upscale parameter to 1. Please Note: Upscaling reduces the quality of the appearance of images, and allow_upscale should only be used if a higher resolution image is unattainable by any other means.
Example: The image used in this example has a width of 150, so to demonstrate allow_upscale, we set maxwidth to 300 and maxheight to 200: :::IMAGE:1_small.jpg:ARGS: filepath=/images/montage&allow_upscale=1&maxwidth=300&maxheight=300 :::

In the example below images have a transparency layer and it should be in only GIF and PNG formats
Required parameters: matte_color as a color
Example: :::IMAGE:lunpa.gif:ARGS: filepath=/images/test&matte_color=red :::
| Without Matte Color set | With Matte Color set to background color | |
|
|
overlays one image over another
Required parameters: mask is the image and mask_filepath is the path to the image
Example: :::IMAGE:1.jpg:ARGS: maxheight=300&filepath=/images/montage&mask=lunpa.gif&mask_filepath=/images/test&mask_opacity=40% :::
If you attach image to the news manager you can use the id of an image instead of using filepath and filename. (This may not appear if you have not made any news articles with image attachments)
Required parameters: news_image_id is the id of the image
Example: :::IMAGE: :ARGS: news_image_id=5&maxheight=300 :::

PNG and TIFF output require allow_png or allow_tiff. If a PNG or TIFF image is used without setting allow_png=1 or allow_tiff=1, the image will be converted to a JPEG, most likely with undesired effect. Note: The example below shows a modified version of the original image with a transparency gradient added for demonstration purposes.
Example: :::IMAGE:example_image.png:ARGS: filepath=/images/montage&format=.png&allow_png=1 :::
Required parameters: extra_html it puts extra html inside the image tag which can be used for adding id, class, style, etc. to the image.
Example: :::IMAGE:example_image.jpg:ARGS: filepath=/images/montage&extra_html=class="example_img" ::: applies the css below:
<style>


.example_img {


  border:2px solid #000FFF;


  opacity: 0.4;


}


</style>
Specifies an alternate text for an image
Required parameters: alt
Example: :::IMAGE:example_image.gif:ARGS: alt=Mount Yamnuska&filepath=/images/montage :::
It give additional text to the existing alternate text for an image. It also is added to an internal variable that can be used to display a list of all image credits on a page by adding code such as below to the script that is handling the templates:
if($FORM->{'internal_use_template_photo_credits'}) {


  print "<center>Photo Credits: $FORM->{'internal_use_template_photo_credits'}</center>";


}
:::IMAGE:logo_ccEcheck.gif:ARGS: alt=Mount Yamnuska&credits=Chuck Szmurlo&filepath=/images/montage :::
Uses various methods to prevent people from copying images
Required parameters: image_protection=1 (trying to right-click and view image results in saving clearpixel.gif instead)
Example: :::IMAGE:example_image.jpg:ARGS: filepath=/images/montage&image_protection=1 :::
In addition to regular protection, draws a stripe over the corner of the image
Optional parameters: image_protection_stripe_text (draws text on a stripe in the corner of the image), image_protection_link (clicking on the image sends you to this page), image_protection_stripe_color (custom color for text on the stripe), image_protection_disable_stripe_mouseover=1 (makes the stripe remain on the image when the user mouses over it)
image_protection_font (font to draw the text with), image_protection_font_size (size to draw the text with), image_protection_text_y_offset (moves the text up and down)
Examples:
:::IMAGE:1.jpg:ARGS: filepath=/images/montage&image_protection=1&image_protection_stripe_text=Text&image_protection_link=admin :::
:::IMAGE:1.jpg:ARGS: filepath=/images/montage&image_protection=1&image_protection_stripe_text=Text&image_protection_stripe_color=#FF0000&image_protection_disable_stripe_mouseover=1&alt=Alt :::
 |
 |
In addition to regular protection, provides a way to bring attention to specific parts of the image
PRIMITIVE TYPES:
1. circle - "x1,y1 x2,y2" - Draws a circle with point 1 at the center and point 2 touching the edge
2. rectangle - "x1,y1 x2,y2" - Draws a rectangle with points 1 and 2 at opposite corners
3. roundrectangle - "x1,y1 x2,y2 x3,y3" - Draws a rectangle with edges rounded x3 pixels away from the corner horizontally and y3 pixels vertically
4. ellipse - "x,y w,h start,end" - Draws an ellipse centered at (x,y) with width w and height h, and draw from angle start to angle end
5. arc - "x1,y1 x2,y2 start,end" - Draws an ellipse such that it touches the edges of the rectangle defined by points 1 and 2
6. polyline - "x1,y1 ..." - Draws lines from point n to point n+1
7. polygon - "x1,y1 ..." - Draws a closed shape using the defined points
8. bezier - "x1a,y1a x1b,y1b ..." - Draws a curved polyline (http://www.imagemagick.org/Usage/draw/#bezier)
The Bezier primitive creates a spline curve and requires three or points to define its shape. The first and last points are the knots and these points are attained by the curve, while any intermediate coordinates are control points. If two control points are specified, the line between each end knot and its sequentially respective control
point determines the tangent direction of the curve at that end. If one control point is specified, the lines from the end knots to the one control point determines the tangent directions of the curve at each end. If more than two control points are specified, then the additional control points act in combination to determine the intermediate shape of the curve.
In order to draw complex curves, it is highly recommended either to use the path primitive or to draw multiple four-point bezier segments with the start and end knots of each successive segment repeated.
Required parameters:
(a) image_protection: enables image protection
(b)image_protection_halo: enables halo
(c)image_protection_halo_coordinates: pointer to an array of shapes to cut out of the overlay
(d)image_protection_halo_overlay_image: overlay image
(e)image_protection_halo_overlay_path: path to overlay image
(f)image_protection_halo_original_image_size: size of original image in format $width.'x'.$height (used for scaling shapes before cutting out of overlay)prefix,
(g)image_protection_halo_primary_id, and image_protection_halo_secondary_id: used for identifying cached halo images
 |
Hover the mouse over the image to see this effect
Example: :::IMAGE:example_image.jpg:ARGS: filepath=/images/montage&full_size_mode=js&maxwidth=50&max_full_size_height=100 :::
Hover over the image to see the effect. Fades from gray to color and back on hovering out of the image area
Example: :::GRAY_IMAGE:example_image.jpg:ARGS: filepath=/images/montage :::

If you want to use the :::IMAGE::: tag with a graphical header instead of using one generated by the :::HEADING::: tag, the alt text can still be added to the meta descriptions tag in the header by adding the autometa parameter.
Example: :::IMAGE:example_image.jpg:ARGS: filepath=/images/montage&alt=Auto Meta Test&autometa=1 ::: - this places "Auto Meta Test" in the <meta name="Description"
> HTML tag
Using the :::HEADING::: tag you can create a reflected heading image with the reflection parameter set.
:::HEADING:Reflection:ARGS: reflection=1&font_size=40 :::

|
Copyright © 2026 Peregrine Computer Consultants Corp. All rights reserved.
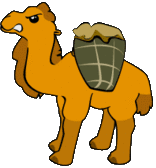
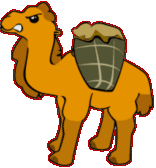
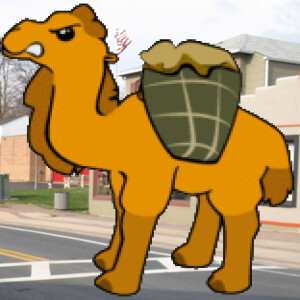
About Lunpa, our mascot. Her mother was a hamster and her father was an ill-tempered Chilean M00se. Oddly, neither smelt of elderberries. The artist is Jennifer Lomax. |

|